Windows Deployment steps
Just follow the documentation step by step 📦 Windows 部署 | MaiBot 文档中心
Here are some notes, the title structure is based on the official documentation.
Environment Configuration
Installing uv
If pip doesn’t exist, go directly to Download Python | Python.org and reinstall python, rather than fiddling with environment variables yourself.
NapCat adapter deployment
最终部署完成后的文件夹结构应该类似这样…
Note that this is after deployment, so if you find that some folders are missing, they might have been generated automatically at runtime.
MaiBot Napcat Adapter Document | MaiBot Document Center
Remember to modify the group_list and private_list in MaiBot-Napcat-Adapter\config.toml.
[chat] # 黑白名单功能
group_list_type = "whitelist" # 群组名单类型,可选为:whitelist, blacklist
group_list = [填写数字(int)]               # 群组名单
# 当group_list_type为whitelist时,只有群组名单中的群组可以聊天
# 当group_list_type为blacklist时,群组名单中的任何群组无法聊天
private_list_type = "whitelist" # 私聊名单类型,可选为:whitelist, blacklist
private_list = [填写数字(int)]               # 私聊名单
# 当private_list_type为whitelist时,只有私聊名单中的用户可以聊天
# 当private_list_type为blacklist时,私聊名单中的任何用户无法聊天
ban_user_id = []   # 全局禁止名单(全局禁止名单中的用户无法进行任何聊天)
ban_qq_bot = false # 是否屏蔽QQ官方机器人
enable_poke = true # 是否启用戳一戳功能
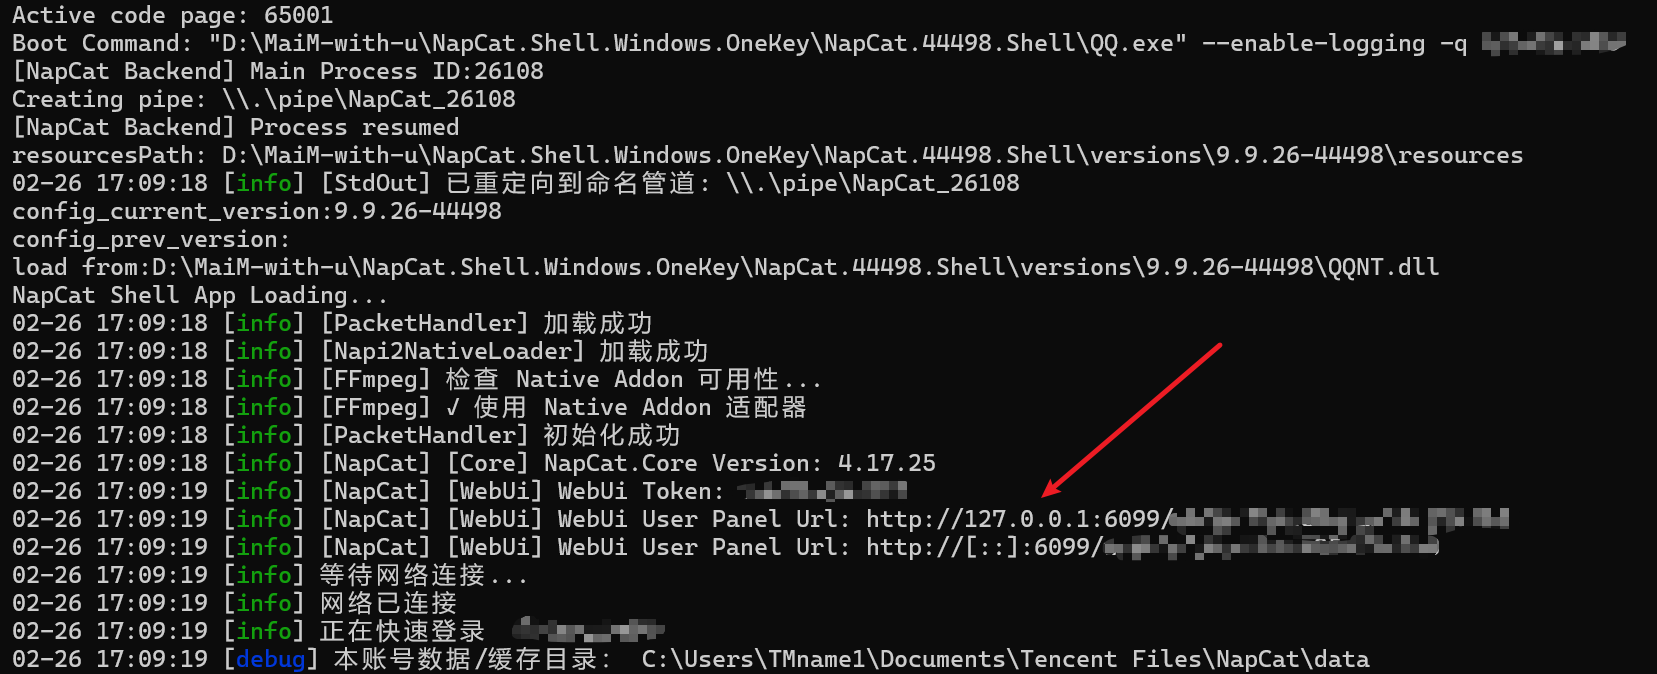
NapCat deployment
Recommended NapCat.Win.一键版本
Edit napcat.quick.bat, change the number after .\NapCatWinBootMain.exe to the QQ number you need to log in with AI. This way, you only need to log in once, and you can quickly log in afterwards.
Configure MaiBot and Adapter
If you just want to get the project running, wait until the graphical interface later and change the configuration through there.
Api Get: 硅基流动 SiliconFlow - 致力于成为全球领先的 AI 能力提供商
MaiBot NapCat adapter Configuration
Ctrl+Click to enter WebUi panel
Click 网络配置->新建->Websocket客户端, Configuration by Documentation
Theoretically, following the default config.toml and .env, it should run normally without any configuration modifications. (Unless the author has updated it.)
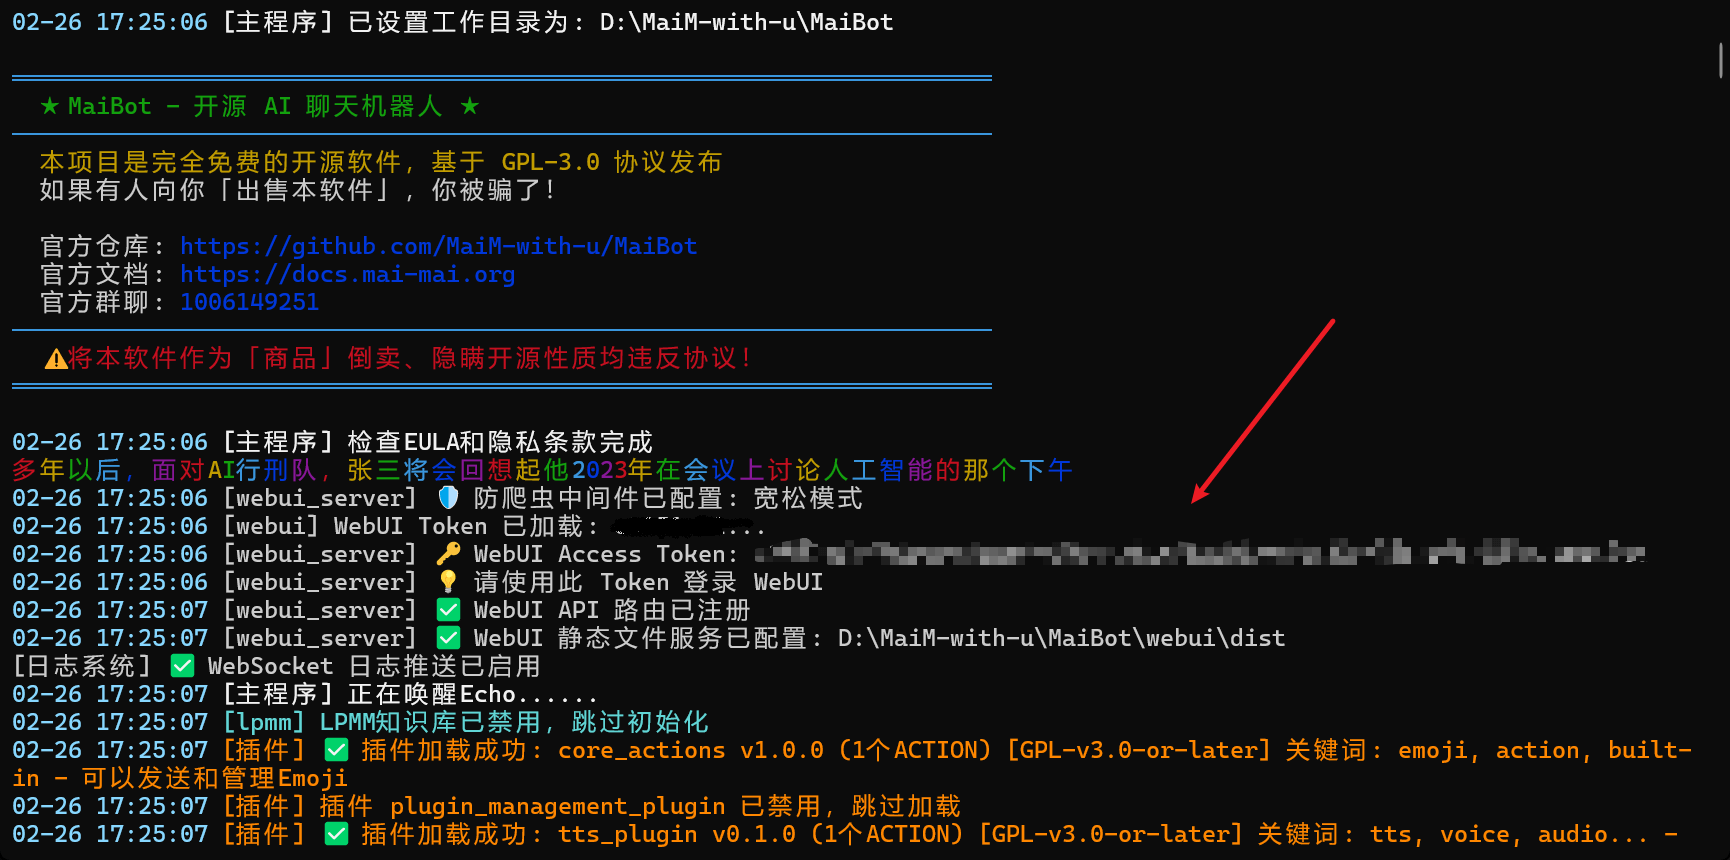
Run
According to the document, enter the command to start the service.
Get the address and port of WebUI from MaiBot\.env file
# WebUI 服务器默认配置
WEBUI_HOST=127.0.0.1
WEBUI_PORT=8001
Enter the MaiBot Dashboard (which is 127.0.0.1:8001/), and copy the Token provided to you in the command line where MaiBot is running to log in.
If the api is not configured in the initial boot, you can click AI模型厂商配置 and edit the SiliconFlow
Login 硅基流动 SiliconFlow - 致力于成为全球领先的 AI 能力提供商,Click 新建API密钥 under API密钥, and copy and paste the newly created key into API Key.
Click “Little Lightning” to test the connection; if the status is normal, that’s fine.